
Many families want healthy, affordable snacks but store-bought options are full of sugar and preservatives. That’s where this dehydrating apples recipe comes in. With just a few fresh apples and simple seasonings, you can turn everyday fruit into crunchy apple chips or chewy slices that last for months.
This method is a lifesaver for busy parents who need lunchbox snacks, for meal-preppers stocking the pantry, or for anyone who loves family-friendly recipes made at home.
In this guide, we’ll walk through the best apple varieties to use, different methods (dehydrator, oven, air fryer, even sun drying), flavor variations like cinnamon, and troubleshooting tips for getting perfectly crisp results. These steps are based on practical kitchen experience and preservation guidelines I’ve used and trusted over the years.
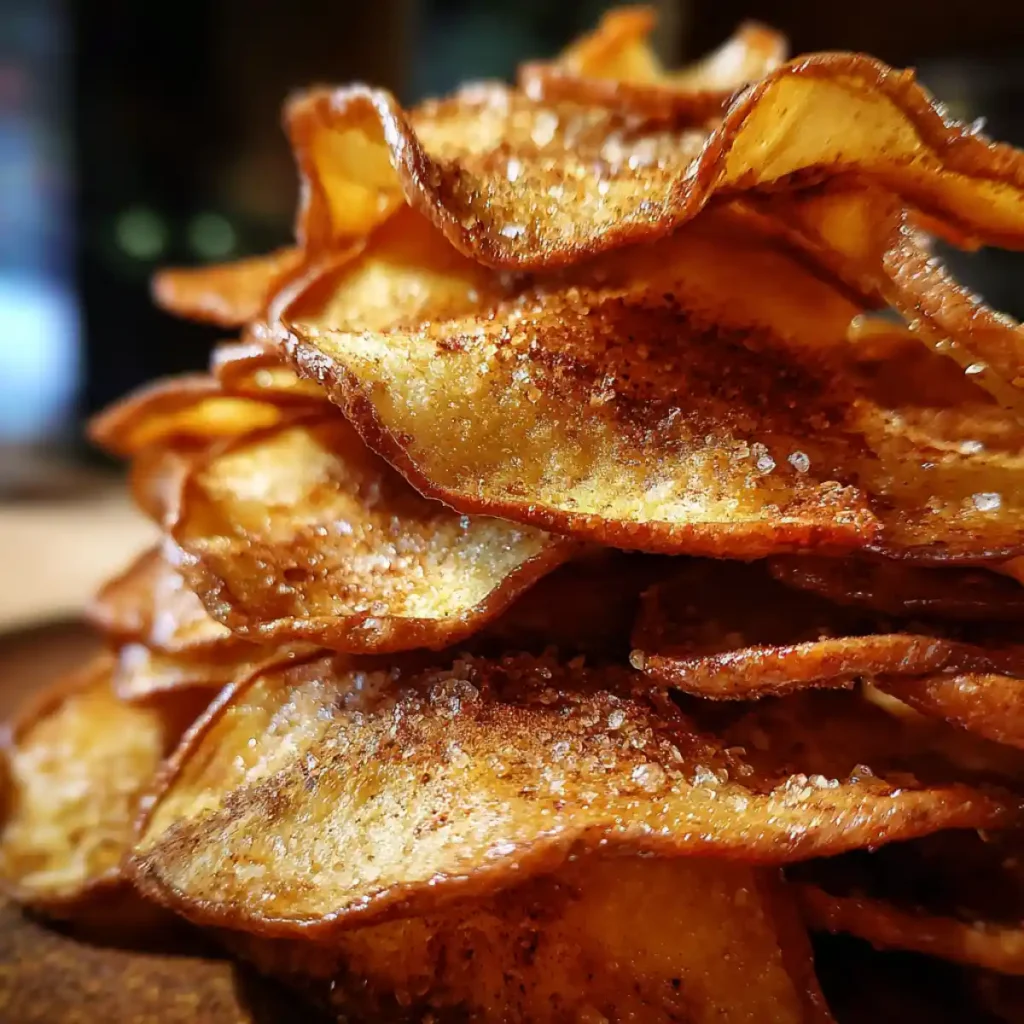
Table of Contents
Table of Contents
Ingredient Breakdown for Dehydrating Apples Recipe (Measurements and Purpose)
For this recipe, you’ll need:
- 5–6 apples – choose Granny Smith, Fuji, Gala, Honeycrisp, or Pink Lady depending on your flavor preference.
- 2 tablespoons lemon juice – to keep slices from browning while they dry.
- 1–2 teaspoons cinnamon, nutmeg, or pumpkin spice (optional) – adds warm, cozy flavor.
- 1 tablespoon honey, maple syrup, or sugar (optional) – for sweeter chips, or swap for a sugar-free sweetener if preferred.
Each ingredient plays a role: apples bring the natural sweetness and texture, lemon juice protects color, while spices and sweeteners let you adjust to your family’s tastes.
Best Apples for Dehydrating (Varieties and Flavor Profiles)
- Sweet varieties like Fuji, Gala, and Honeycrisp are perfect for snacking since they yield naturally sweet, crunchy chips.
- Tart apples such as Granny Smith or McIntosh work well when you plan to rehydrate slices later for pies or baking.
- Avoid overly juicy apples, since they take longer to dry and may turn rubbery instead of crisp.
Step-by-Step Preparation Instructions
Preparing the Apples
- Wash apples thoroughly to remove any wax or dirt.
- Core them, peel if you prefer (I leave peels on for fiber, but my kids like peeled chips).
- Slice evenly into ⅛–¼ inch rounds for consistent drying.
- Soak slices in a bowl of lemon water for 5 minutes to prevent browning. Drain and pat dry.
Dehydrating Methods (Choose Your Tool)
- Food Dehydrator – Best for large batches. Arrange slices in a single layer. Dry at 125–135°F for 6–12 hours.
- Oven – Place slices on a parchment-lined sheet. Set oven to its lowest setting (around 200°F). Flip slices halfway through and bake 2–3 hours.
- Air Fryer – Great for small batches. Preheat to 350°F. Place slices in a single layer and cook 8–10 minutes, flipping twice.
- Sun Drying (bonus) – If you live in a dry, hot climate, lay apple slices on trays in the sun for 10–12 hours, turning halfway.
How Long Does It Take to Dehydrate Apples?
- For chewy, pliable slices: 5–6 hours in a dehydrator.
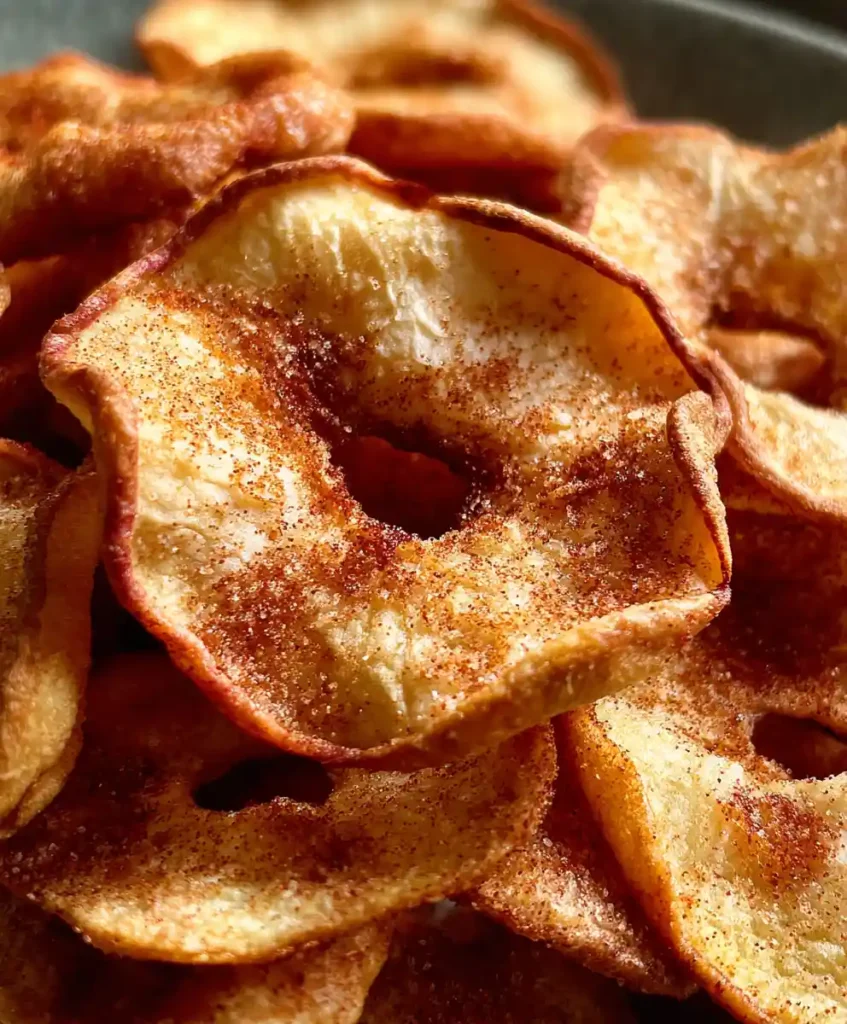
- For crisp chips: 8–12 hours depending on slice thickness and humidity.
- Always let apples cool before testing—chips continue to crisp as they cool.
Variations to Try
- Cinnamon apple chips – Sprinkle slices with cinnamon before drying.
- Apple fruit leather – Puree apples with cinnamon, spread thin, and dehydrate until chewy.
- Apple powder – Grind fully dried slices to make seasoning for oatmeal, pancakes, or spice blends.
- Sugar-free or gluten-free versions – Skip sweeteners and rely on apple’s natural sugars.
When and How to Use Dehydrating Apples Recipe (Occasions, Storage)
This dehydrating apples recipe makes a snack that fits into so many parts of family life. My kids love grabbing apple chips after school, and I often pack a baggie of chewy slices for hiking or road trips. They’re also handy in the kitchen: rehydrated apples can be added to oatmeal, muffins, or even savory pork dishes.
For storage, keep your dried apples in:
- Airtight glass jars – easy to grab for snacks.
- Vacuum-sealed bags – best for long-term storage.
- Freezer-safe containers – for batches you want to last up to a year.
Properly dried and stored, apples will stay good for 6–12 months.
Conditioning and Storage Tips (Preventing Mold, Extending Shelf Life)
A small but important step is conditioning. After apples are fully dehydrated, place them loosely in a jar for 5–7 days. Shake the jar once daily and check for any condensation. If you spot moisture, put the apples back in the dehydrator for another hour or two.
Extra tips:
- Always let apples cool completely before sealing.
- Store in a cool, dark place away from sunlight.
- Freeze a portion if you live in a humid climate.
How Dehydrating Apples Recipe Supports Family-Friendly and Budget Cooking
One reason I keep coming back to this dehydrating apples recipe is how much it helps stretch the grocery budget. Buying apples in season means you can preserve a big batch when they’re cheapest and enjoy them year-round.
- Family-friendly: Kids love apple chips as an alternative to store-bought cookies or fruit snacks.
- Budget-friendly: Preserves apples that might otherwise spoil.
- Meal prep: A big batch on the weekend means ready-to-go snacks all week.
- Versatile: Works for lunchboxes, after-school snacks, or even tossed into trail mix.
Tips, Adjustments, and Cautions for Dehydrating Apples Recipe
Flavoring and Seasoning Variations
Seasoning is where you can get creative. My go-to is a light dusting of cinnamon sugar, but you can also try:
- Nutmeg or pumpkin pie spice for autumn flavor.
- Lemon juice for bright freshness.
- Sugar-free sweeteners if you’re watching sugar intake.
Common Problems and Fixes
- Not crispy enough? Let them cool completely; if still soft, return to the dehydrator.
- Too rubbery? Slice thinner or dry longer at a steady temperature.
- Browning too quickly? Use a lemon water soak.
- Concerned about mold? Always cool fully, condition, and store in airtight jars.
(Disclaimer: I’m not a nutritionist — these are tips from my kitchen experience. Adjust based on your family’s needs.)
FAQs
Do you peel apples before dehydrating?
It’s optional. Peels add fiber and a rustic look, but peeled slices are softer and often preferred by kids.
What temperature to dehydrate apples?
125–135°F in a dehydrator is the sweet spot for balanced drying without cooking.
Can you dehydrate apples in the oven or air fryer?
Yes. Oven at 200°F for 2–3 hours, or air fryer at 350°F for 8–10 minutes. Both need close attention to avoid burning.
Do dehydrated apples need to be refrigerated?
Not if fully dried. If you’re unsure, refrigeration extends shelf life and prevents spoilage.
How do you rehydrate dried apples?
Soak in warm water for about 30 minutes, then use in pies, muffins, or hot cereal.
Is dehydrated apples good for you?
Yes. They keep much of their fiber and natural sweetness. Just remember portion control since natural sugars are concentrated.
How to make dehydrated apples with cinnamon?
Sprinkle ground cinnamon before or during dehydrating for warm, spiced chips.
What’s the difference between chewy and crispy dehydrated apples?
It comes down to drying time: 5–6 hours for chewy, 8–12 hours for crisp.
Conclusion
This dehydrating apples recipe is a simple way to make healthy, family-friendly snacks while saving money and reducing food waste. Whether you like chewy slices or crisp chips, the process is easy and adaptable to your kitchen tools.
Next time you buy a big bag of apples, try prepping a batch for snacks, baking, or meal prep. Share them with friends, keep a jar in the pantry, and enjoy the satisfaction of homemade food that’s both practical and comforting.
Print
Dehydrating Apples Recipe
- Total Time: 6 hours 15 minutes
- Yield: 6 servings
- Diet: Vegetarian
Description
Easy dehydrating apples recipe with lemon, cinnamon, and honey for healthy homemade snacks.
Ingredients
- 5–6 apples – choose Granny Smith, Fuji, Gala, Honeycrisp, or Pink Lady depending on your flavor preference
- 2 tablespoons lemon juice – to keep slices from browning while they dry
- 1–2 teaspoons cinnamon, nutmeg, or pumpkin spice (optional) – adds warm, cozy flavor
- 1 tablespoon honey, maple syrup, or sugar (optional) – for sweeter chips, or swap for a sugar-free sweetener if preferred
Instructions
- Prepare Apples: Wash apples, core them, peel if desired, and slice evenly into ⅛–¼ inch rounds.
- Pretreat: Soak slices in lemon water for 5 minutes to prevent browning. Drain and pat dry.
- Dehydrator Method: Arrange slices in a single layer. Dry at 125–135°F for 6–12 hours.
- Oven Method: Place slices on parchment-lined sheet. Bake at 200°F for 2–3 hours, flipping halfway.
- Air Fryer Method: Preheat to 350°F. Cook slices in a single layer for 8–10 minutes, flipping twice.
- Sun Drying: Lay apple slices on trays in the sun for 10–12 hours, turning halfway through.
Notes
Apples with higher juice content may take longer to dry. Store in airtight jars or vacuum-sealed bags for up to 12 months. Nutrition values are estimated.
- Prep Time: 15 minutes
- Cook Time: 6 hours
- Category: Desserts
- Method: Dehydrated
- Cuisine: American
Nutrition
- Serving Size: 1 cup
- Calories: 78
- Sugar: 15g
- Sodium: 2mg
- Fat: 1g
- Saturated Fat: 0g
- Unsaturated Fat: 1g
- Trans Fat: 0g
- Carbohydrates: 20g
- Fiber: 3g
- Protein: 1g
- Cholesterol: 0mg
FREE PRINTABLE RECIPE
Get the Printable Recipe PDF (Free)
Enter your email and we’ll send you the ingredients + step-by-step instructions as a clean PDF you can save to your phone.
- ✅ Printable PDF (ingredients + steps)
- ✅ Save it to your phone (no long scrolling)
- ✅ Includes cook time + servings
- ✅ Easy to follow
FAQ
Where’s the full recipe?
It’s delivered as a printable PDF so you can save it and cook without scrolling.
I didn’t get the email.
Check Spam/Promotions and search your inbox for your site name. Then click Confirm to receive the PDF.